SkyQuote Contact Form Tracking in Google Analytics Using Google Tag Manager
This article will teach you how to set up Google Tag Manager to track SkyQuote Contact Form submissions in Google Analytics 4.
There is a better way to set all this up and it also includes tracking for InstaQuote and appointments. Please see SkyQuote Tracking in Google Analytics Using Google Tag Manager.
Introduction
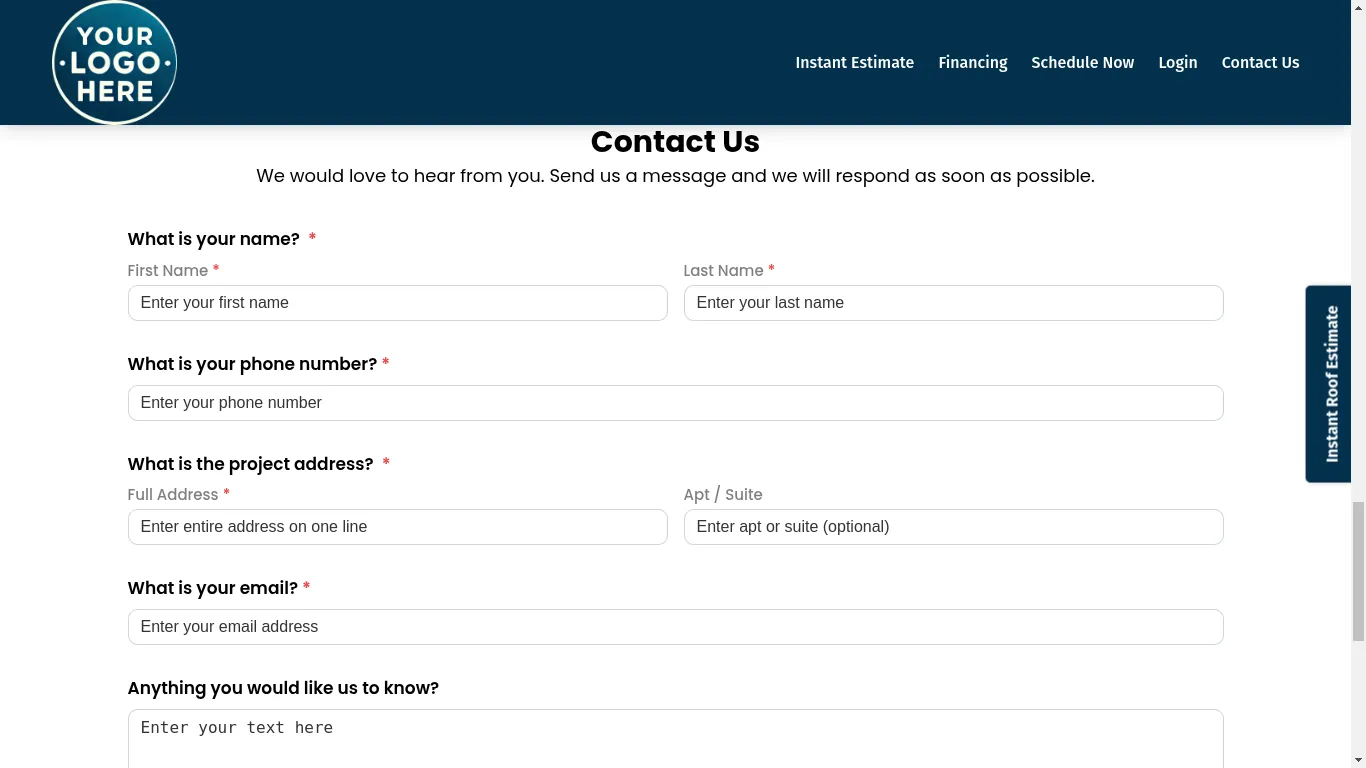
SkyQuote Contact Forms are a powerful tool for your roofing website. When a customer of yours fills in a contact form, their information automatically shows up in your leads dashboard. Getting the roofing lead is obviously the most important part, but you also need to be able to see some metrics on how leads are performing on your website. You need to know how many people are signing up for roofing appointments, submitting InstaQuote leads, or filling out contact forms on your site. Maybe you have multiple contact forms and want to see metrics on how they are performing. More importantly, if you are running ads, emails, or other campaigns, you want to keep track of your conversions so that you can see what campaigns are returning the most return on investment for your roofing company.
Google Analytics is a free tool that most roofers use on their website to track everything from page views and visits to leads. This article will show you how to track your contact form submissions with Google Analytics. Before doing so, we just remind you that SkyQuote also comes with its own built-in analytics.
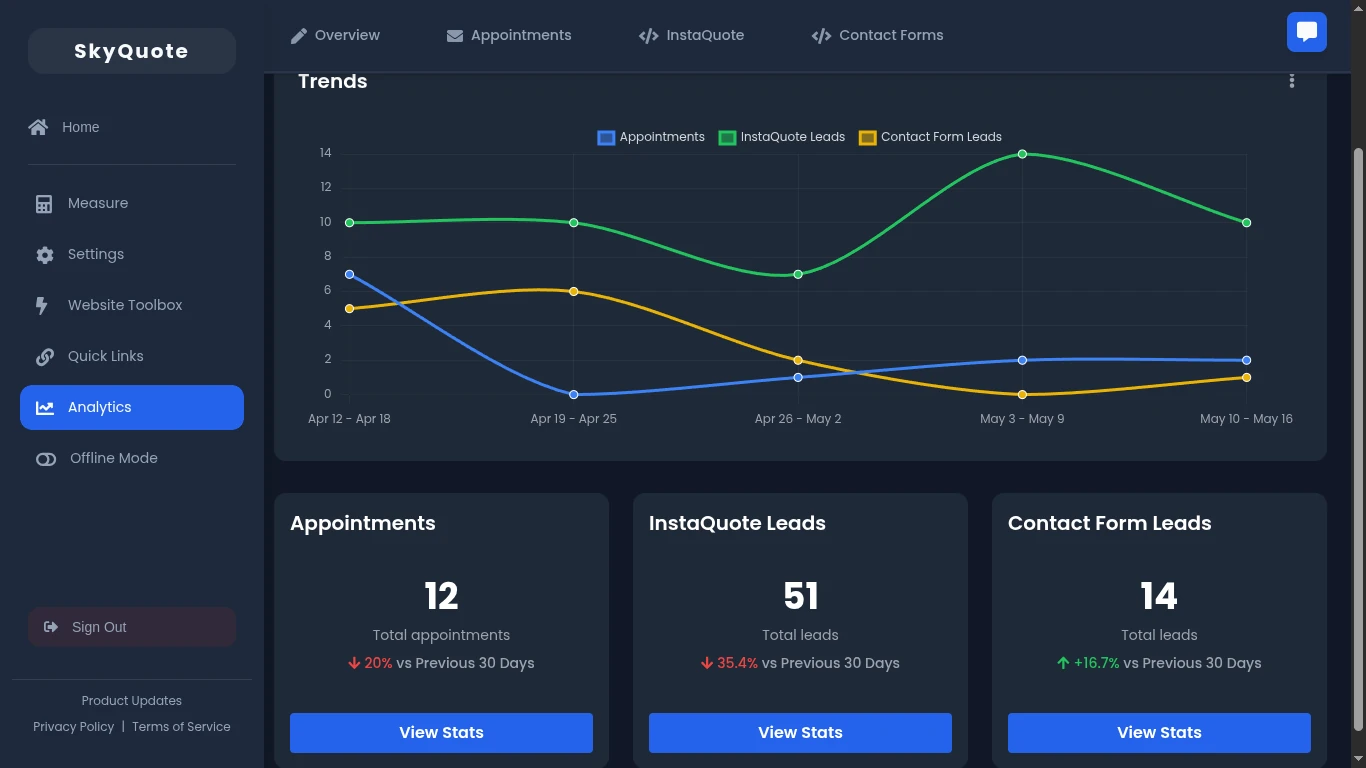
With SkyQuote Analytics, you can get a quick picture of how Appointments, InstaQuote Leads and Contact Forms are performing on your website. You can get an idea of trends vs previous periods, see what contact forms have the most submissions, what the status of those leads are, and even see things like what time of day or day of the week is the most common for your clients to submit contact forms.
But enough about SkyQuote Analytics, you are here to learn about how to track SkyQuote contact form submissions in Google Analytics. There are many ways to do this, and many tutorials out there that you can read from. We are going to focus on using Google Tag Manager as the solution instead of directly working with Google Analytics. There are many reasons why we recommend Google Tag Manager as the solution for your roofing website tracking needs. They include but are not limited to:
Simpler Implementation & Management
- You don’t need to manually edit your website’s code every time you want to track a new event
- You can add additional tags for other platforms without having to get your website developer involved
- Changes are instant as soon as you publish a new version through the UI
More Flexibility
- All tracking is managed through a single, fairly user-friendly interface that gives you a lot of flexibility and integrates with a lot of other platforms besides Google Analytics
- You don't have to rely on a bunch of WordPress plugins
Built-in Debugging and Version Control
- Google Tag Manager provides a Preview Mode to test tracking before publishing, ensuring that data is being captured correctly
- Version control allows you to roll back to previous configurations if needed
Support for Ad Conversion Tracking
- Google Tag Manager makes it easy to manage multiple analytics tools (Google Ads, Facebook Pixel, LinkedIn Insights, etc.) from a single place
- We'll cover Facebook and Google Ad conversions using Google Tag Manager in future articles
Hopefully, this paints a good picture of why we recommend Google Tag Manager to manage analytics and other tools on your roofing website.
Prerequisites
This article assumes a basic understanding of Google Analytics and some Google Tag Manager concepts. If you have never used Google Analytics before, we advise you to start by watching some YouTube Videos to understand the concepts. We'll cover some of the simple basics in Google Tag Manager just as a review to help make sense of the steps involved.
We also assume that you have already set up Google Tag Manager and Google Analytics for your website. If you have not, here are a couple of great articles to get you started. There are also a lot of videos on YouTube.
Key Concepts in Google Tag Manager
To effectively use Google Tag Manager, it’s essential to understand its core components: Tags, Triggers, Variables, and the Data Layer.
Tags – The Tracking Mechanism Tags are snippets of code that send data to third-party services like Google Analytics, Google Ads, or other marketing platforms. In Google Tag Manager, you configure tags to fire based on specific conditions instead of embedding them directly into your website's code. Google Analytics has two types of tags in Google Tag Manager. One is the Google Tag. This is the basic Google Analytics tag that you set up to track normal website traffic like visits, page views, etc. The other tag is a Google Analytics: GA4 Event. This is a special tag that creates an Event within Google Analytics to track various things like contact form submissions, news letter sign ups, etc. We will be using it to track our SkyQuote Contact Form submission.
Triggers – Define When Tags Fire Triggers tell Google Tag Manager when a tag should execute. They listen for specific user actions or page events and determine whether a tag should be fired. Google Analytics has a number of pre-defined tags like Initialization (which fires when the page is loading and is typically what triggers the normal Google Analytics Google Tag), Page Views, Element or Link clicks, etc. Each one of the triggers can be constrained to fire if so desired. For example you can set up a Page View Trigger to fire on all pages, or just a specific page like a Contact Form Thank You page which is how some people track contact forms.
You can define your own custom tags as well in Google Tag Manager to do whatever you want. This is what makes it so incredibly powerful. We'll be setting up a special Custom Event trigger that looks for a particular action happening on a page. In our case, that action is a SkyQuote Contact Form Submitted event.
Variables – Store Dynamic Values Variables hold dynamic values that can be used in tags and triggers. They help capture important data such as form IDs, button clicks, or page URLs. Google Tag Manager provides both built-in and custom variables. Examples of built-in variables are URL which holds the value of the page URL that a trigger fires on, and a Click Text variable which could store the name of a button that was pressed. You can also define your own custom variables to store whatever you want. We use custom variables to store the Contact Form Name and ID.
Data Layer – Coding Magic The data layer is a JavaScript object that temporarily stores data on a webpage and makes it accessible to Google Tag Manager. The data layer enables a structured way to pass event information to Google Tag Manager. This part typically relies on your web developer to add some special code on your website to pass what ever information you are interested in. SkyQuote Contact forms have this code built in, so it just works wherever a SkyQuote Contact Form is on your website (assuming that page includes the Google Tag Manager script).
When a SkyQuote Contact Form is submitted the SkyQuote code includes a little bit of Javascript that pushes information about the form being submitted. The code looks like this:
window.dataLayer = window.dataLayer || [];
window.dataLayer.push({
    'event': 'SkyQuote Contact Form Submitted',
    'skyQuoteFormName': this.formName,
    'skyQuoteFormId': this.formId
});
Google Tag Manager then picks up this event and processes it according to your tag and trigger setup. The name of the custom event is 'SkyQuote Contact Form Submitted'. There are two custom Variables submitted with it which are the name of the form and the id of the form. This information can be passed to Google Analytics so you can track contact form submissions. If you have multiple contact forms on your website (maybe one for roofing enquiries and another for financial enquiries) the name of forms help indicate the particular form that was submitted.
That's a summary of the pieces involved. Let's get it set up.
Setting up SkyQuote Contact Form Event Tracking
Step 1: Include Google Tag Manager Code
Make sure the Google Tag Manager code is on the same page that your SkyQuote contact form is on. You should see something like this in the
section of your page:<!-- Google Tag Manager -->
<script>(function(w,d,s,l,i){w[l]=w[l]||[];w[l].push({'gtm.start':
new Date().getTime(),event:'gtm.js'});var f=d.getElementsByTagName(s)[0],
j=d.createElement(s),dl=l!='dataLayer'?'&l='+l:'';j.async=true;j.src=
'https://www.googletagmanager.com/gtm.js?id='+i+dl;f.parentNode.insertBefore(j,f);
})(window,document,'script','dataLayer','GTM-YOUR_GOOGLE_TAG_MANAGER_ID');</script>
<!-- End Google Tag Manager -->
If you do not have this on your webpage already, see How to Install Google Tag Manager on your Website or similar resources to get it installed. Note that the GTM-YOUR_GOOGLE_TAG_MANAGER_ID is your Google Analytics id. You can get this script from your Google Analytics account and property pages.
Step 2: Create a Data Layer Variable in Google Tag Manager
Log into your Google Tag Manager account and select your website container. On the left-hand side of your screen you should see a menu item that says Variables.
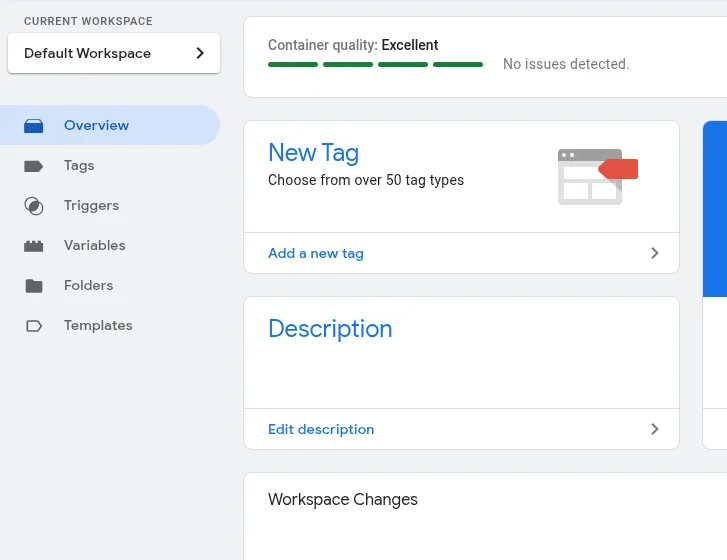
Click Variables. That will bring up the variables page
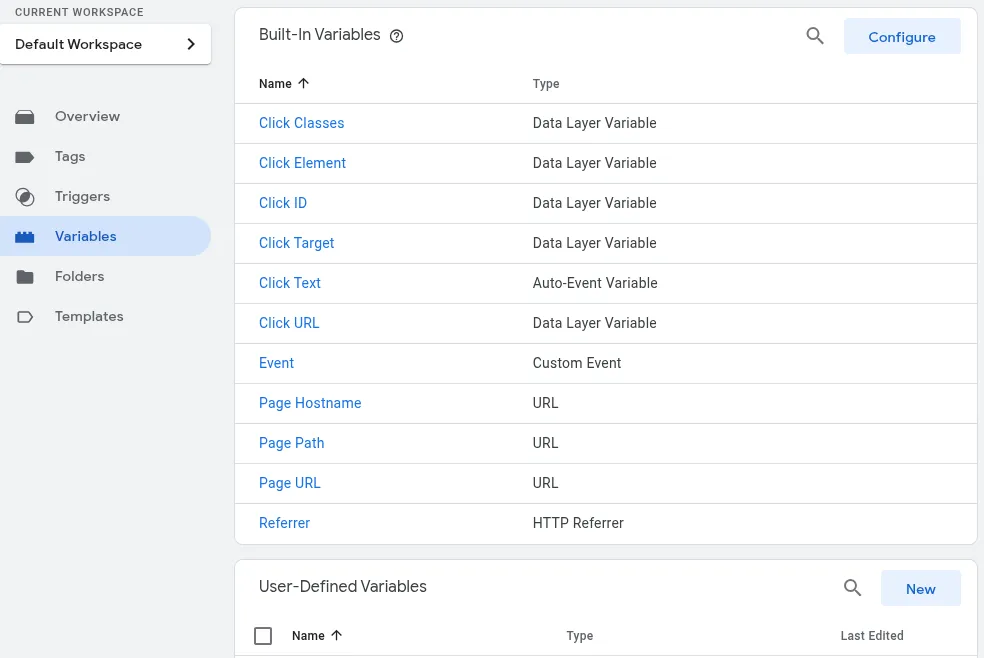
On the Variables page you should see a page like this that has Built-In Variables and User-Defined Variables. We are going to create two User-Defined variables. Click on the New button in the User-Defined Variables (at the bottom-right of the page in this example). This will open a screen that looks like the following:
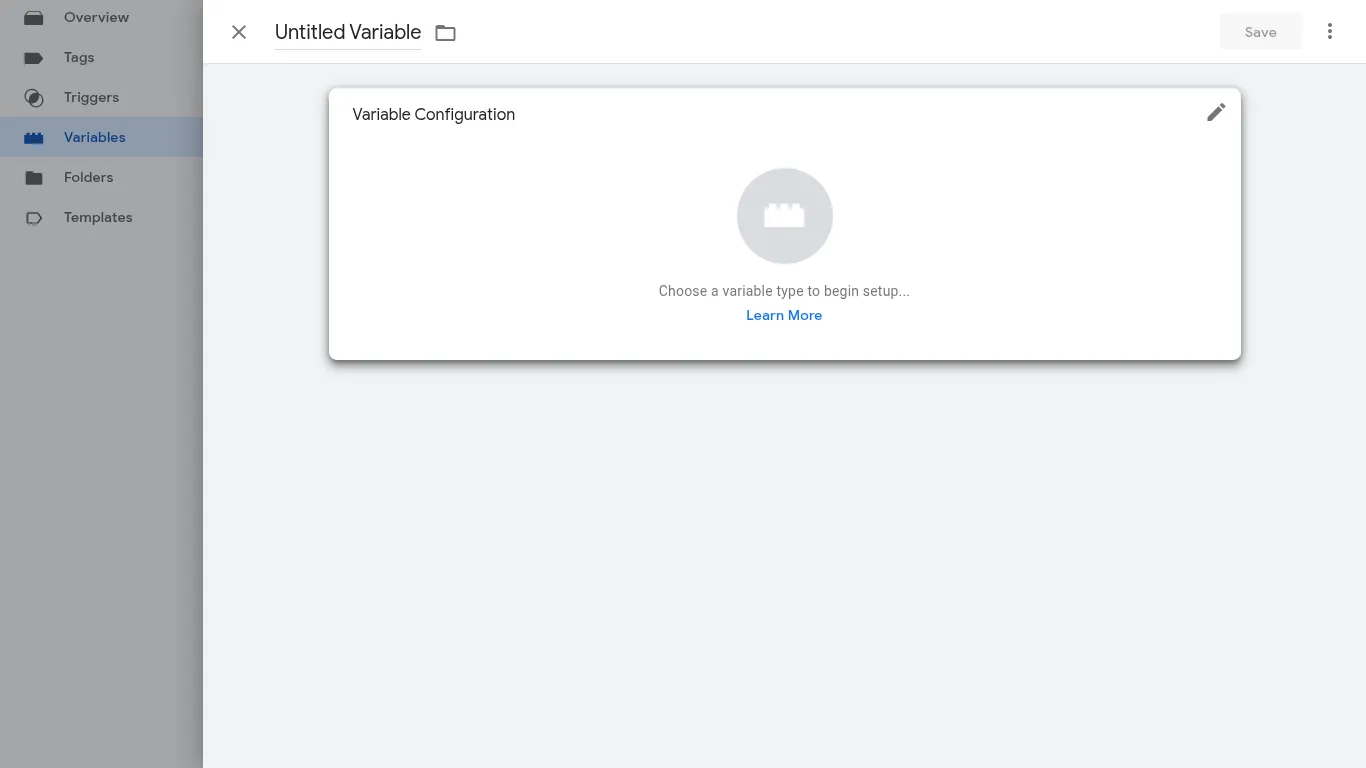
Click anywhere on the Variable Configuration card. This will bring up a dialog that asks you to pick what kind of variable:
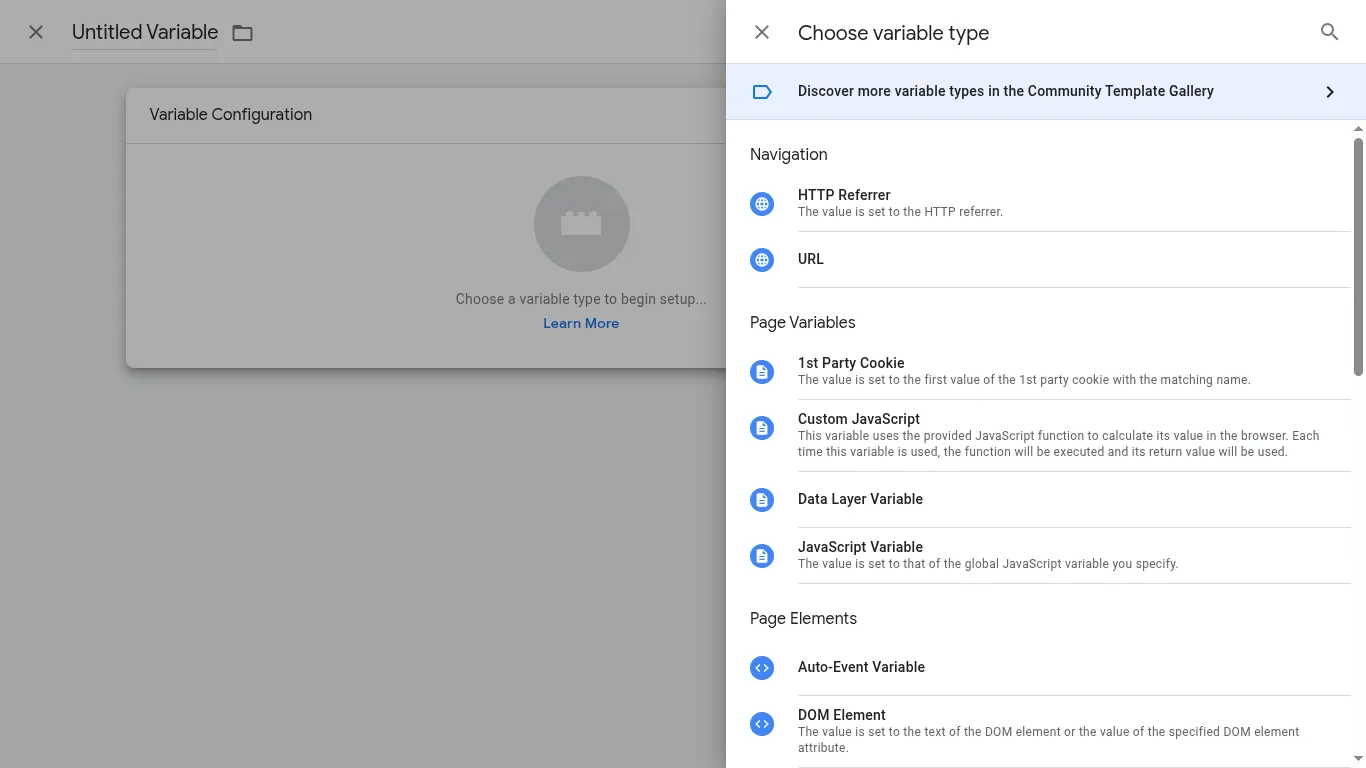
Select "Data Layer Variable". Then type skyQuoteFormName as the Data Layer Variable Name and Version 2 for Data Layer Version. Type "sq-formName" for the name of custom variable at the upper-left corner of the window. Note, you can call this anything you want, but we will need to use this variable later so remember what you call it. Your screen should look like:
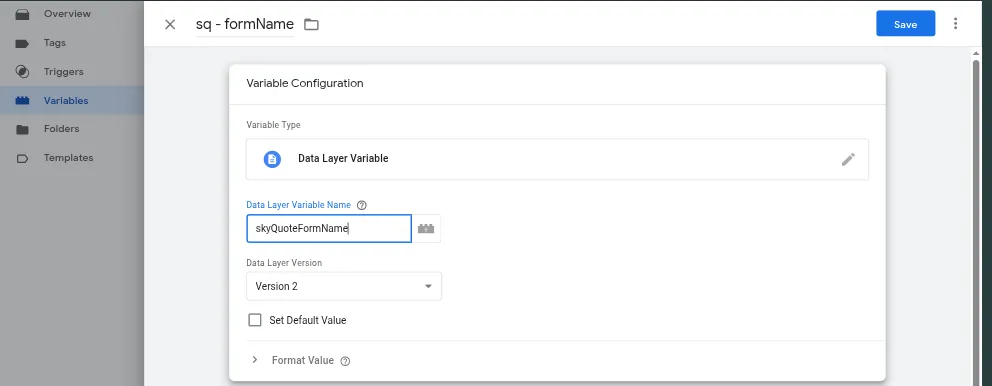
Verify it look likes this and press save.
Then repeat the process for sq-formId using a Data Layer Variable Name of "skyQuoteFormId". It should look like:
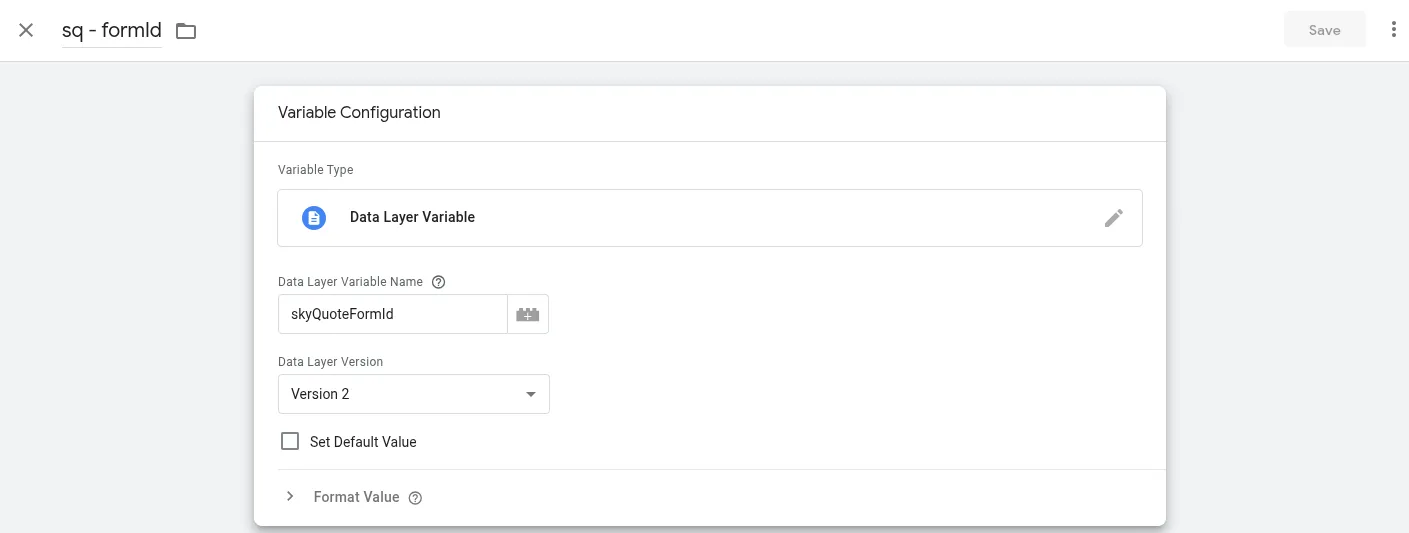
Then press save. Congrats! We now have our variables set up.
Step 3: Set Up a Trigger in Google Tag Manager
We now need to set up a trigger. Let's start by clicking on Triggers on the left-hand menu. This brings up a page that looks like:
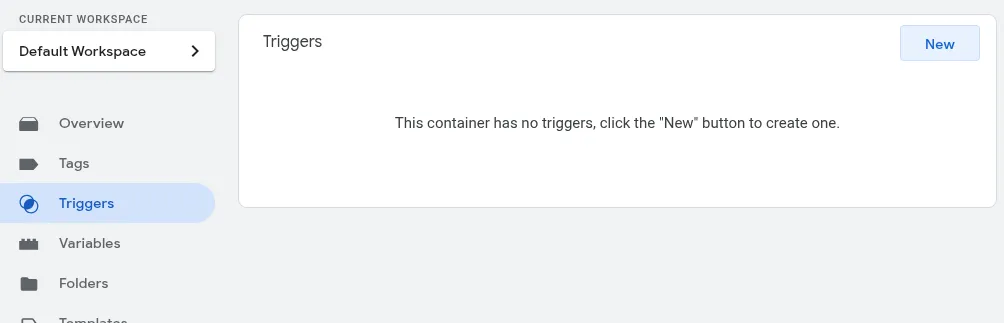
Click the New button in the upper-right hand corner. This brings up a new trigger page.
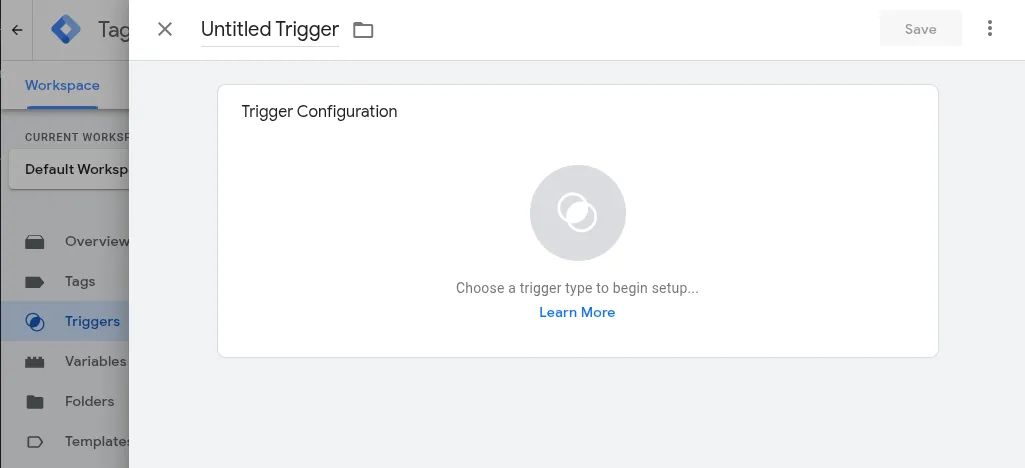
Click anywhere in the Trigger Configuration card and that will bring up a dialog on the right to choose the event type for the trigger.
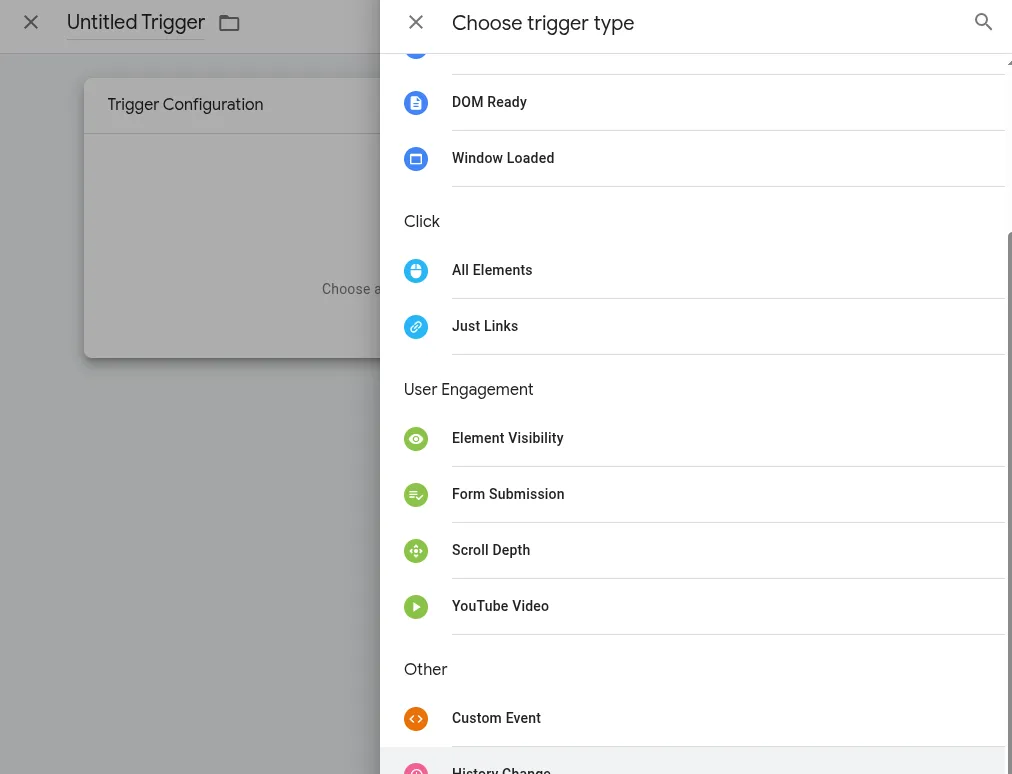
You will need to scroll down a little until you get to the Other section (shown at the bottom in the example). Click on Custom Event.
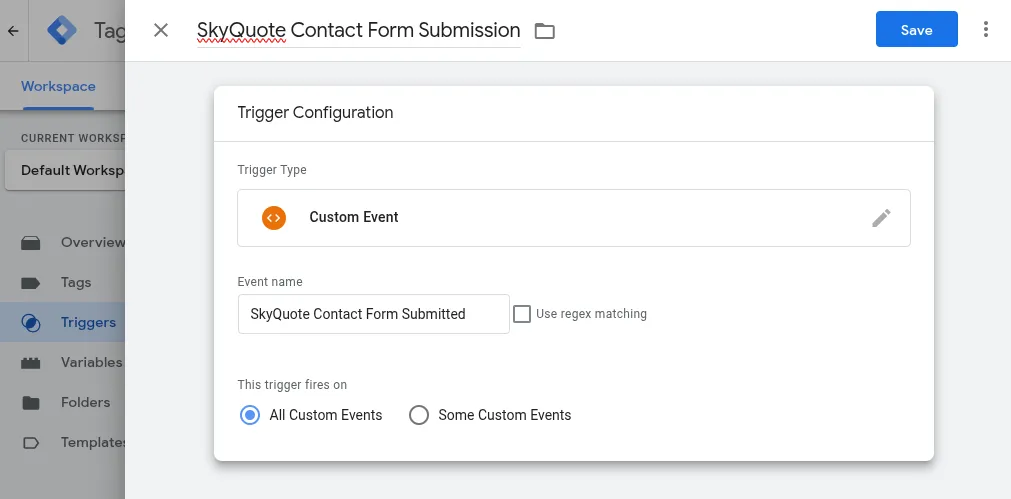
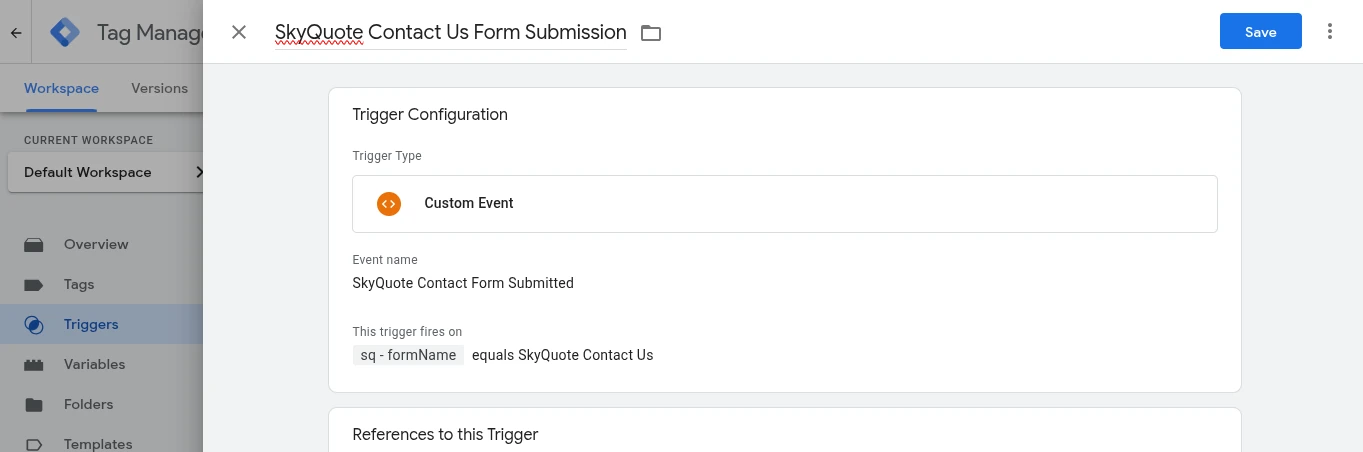
You'll see a page that allows you enter the event. Type SkyQuote Contact Form Submitted in the Event name. Make sure it matches exactly because that is the name of the event in the Data Layer Javascript that the code uses. Make sure that "This trigger fires on" is set to "All Custom Events". Finally, type SkyQuote Contact Form Submission in the title and hit save.
Congrats! You now have the variables and triggers all set up. There's just one more thing to do and that is to set up the Event tag.
Step 4: Create a GA4 Event Tag in Google Tag Manager
We now need to set up a Event Tag. Let's start by clicking on Tags on the left-hand menu. This brings up a page that looks like:
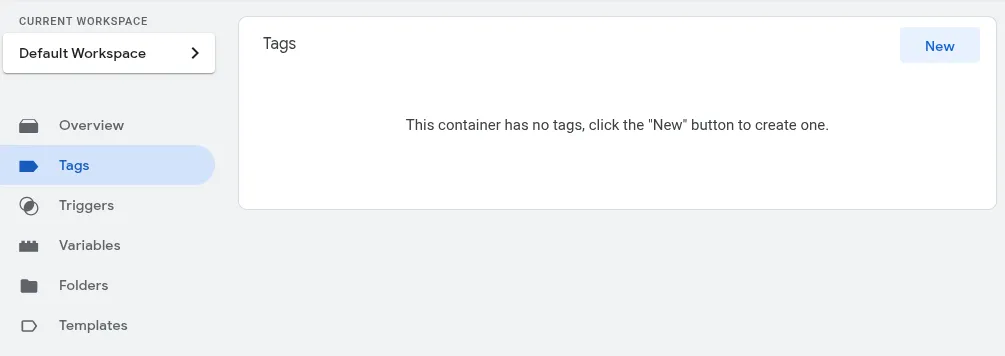
Click the New button in the upper-right-hand corner. This will bring up the new tag config page.
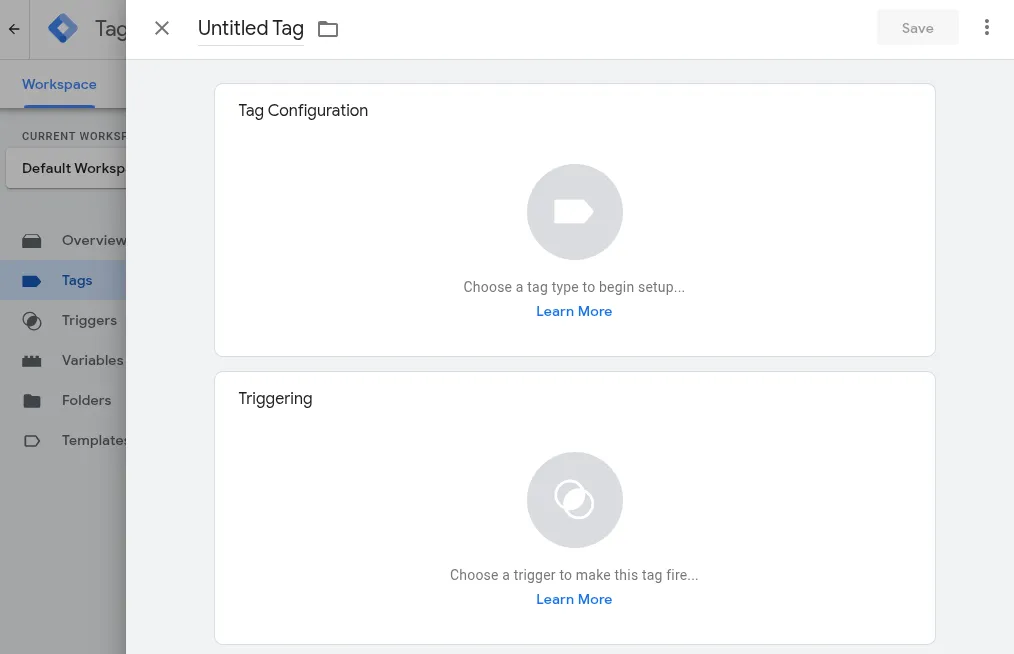
Click anywhere in the Tag Configuration card. This brings up the choose tag type Window.
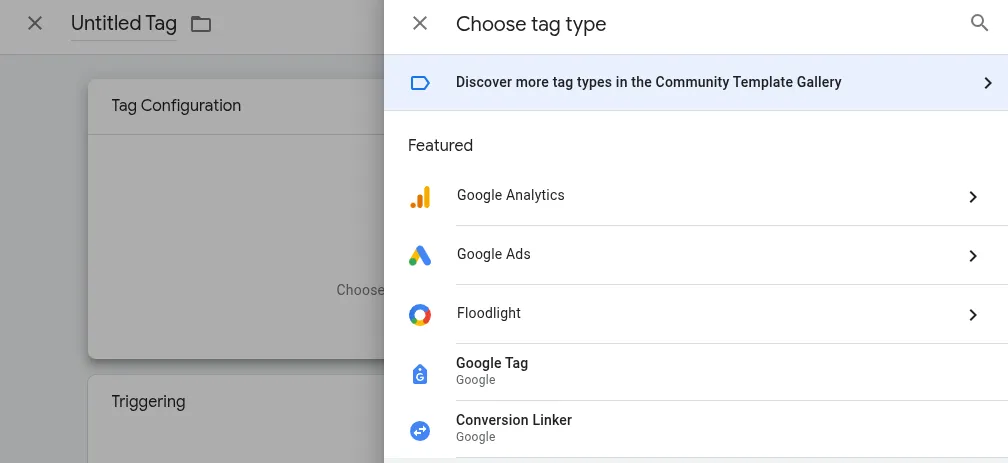
Select Google Analytics, then select Google Analytics: GA4 Event. You should then see a page like this:
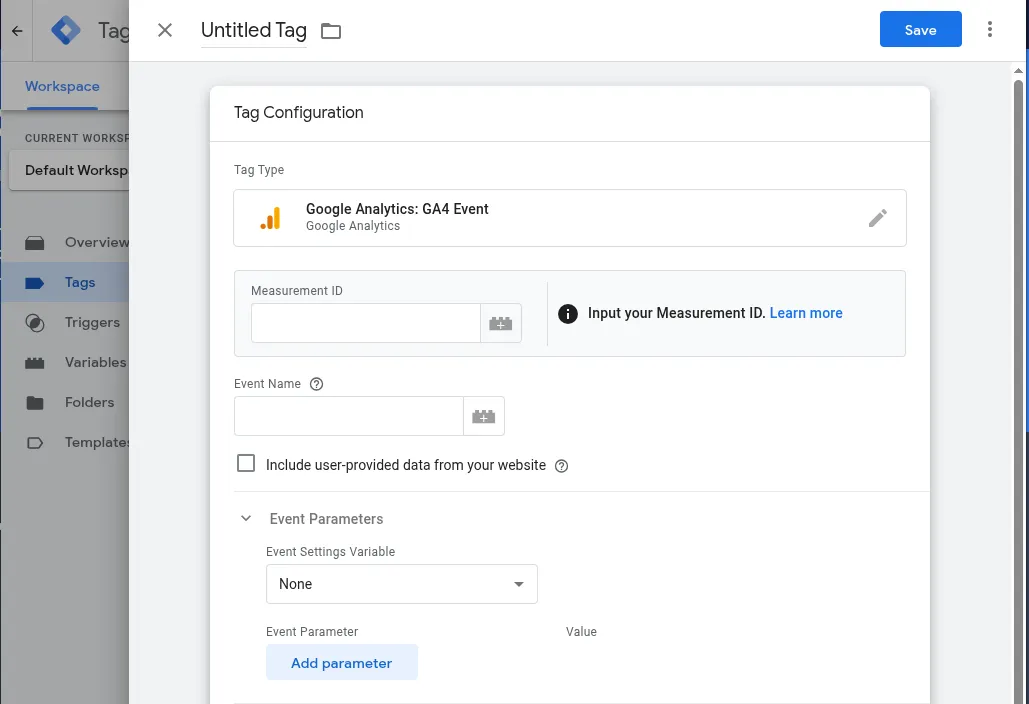
The first thing you will need to do is enter your Google Analytics Measurement Id. This can be a bit tricky to find if you don't already have it. So follow these steps:
- Open Google Analytics
- Select the settings icon in the lower-left-hand corner of the window. This will bring up your Admin screen.
- Find the section called Data collection and modification. It will probably be on the right hand side about half-way down your screen
- Click Data Streams
- Select your website
- You'll see details about your stream include the name, url, stream id and measurement ID.
- Copy your measurement ID. It's the string that starts with G- followed by a bunch of characters.
- Go back to Google Tag Manager and paste your measurement ID
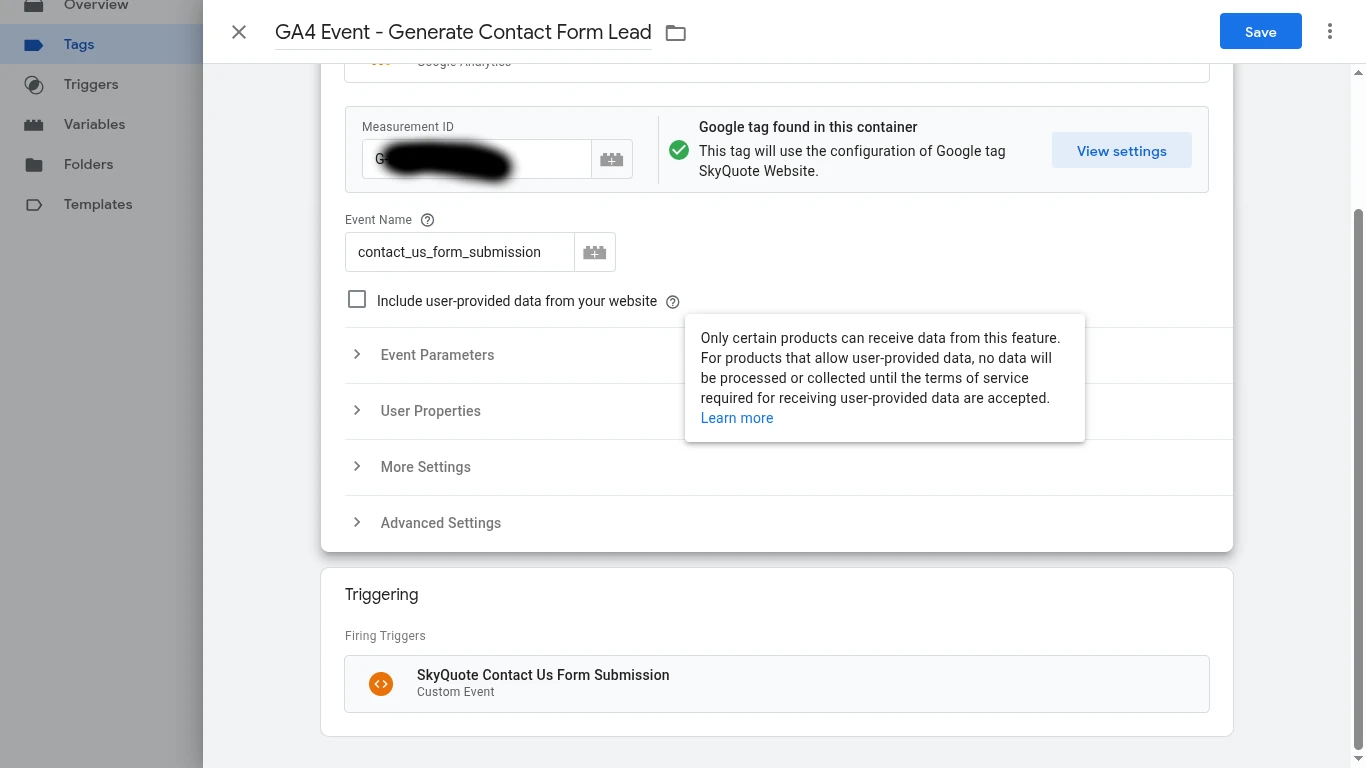
Now we need to name the event. We'll call it "generate_lead" but you can name it whatever you want. Under Event Parameters you will want to create several parameters. `
- lead_type and set that to 'SkyQuoteContactForm'.
- form_name and select sq-formName from the options
- name the tag GA4 Event - Generate Contact Form Lead at the top of the page.
Your page should now look like this:
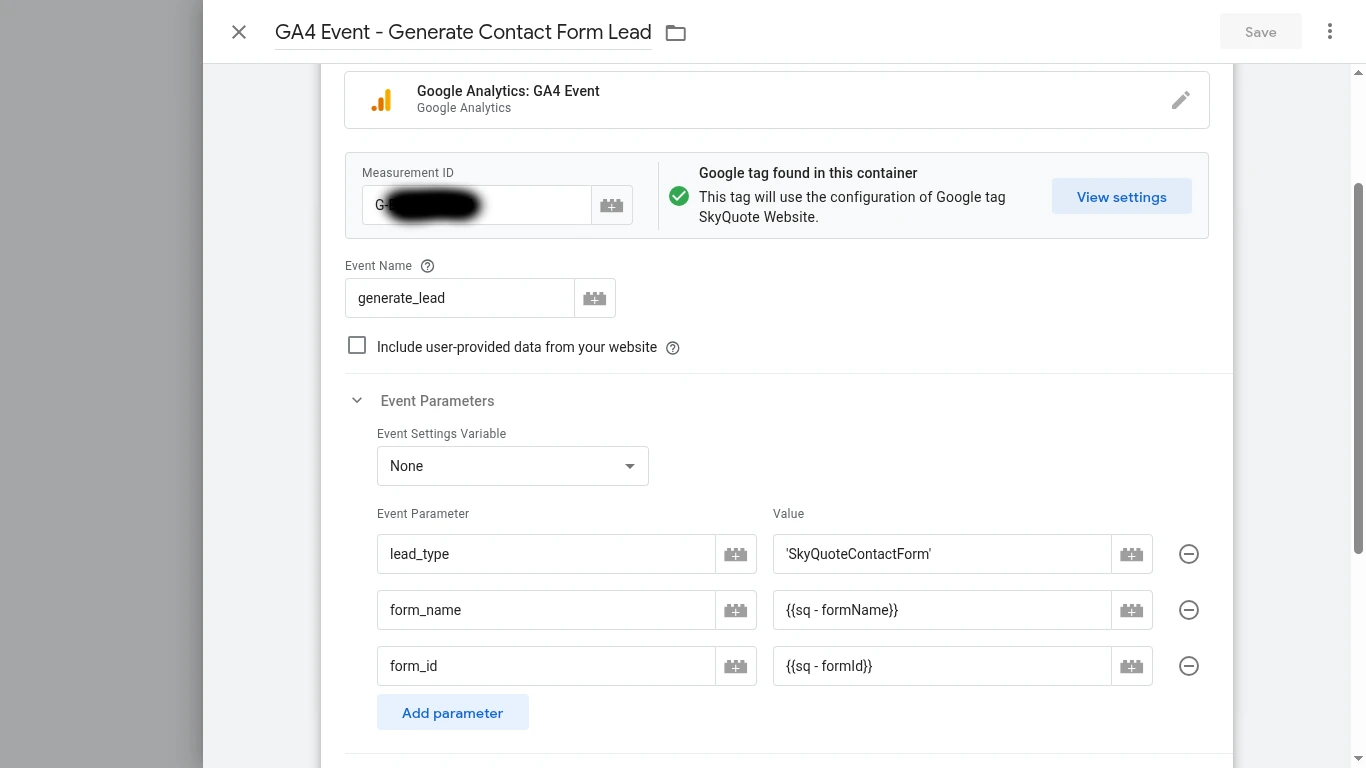
Note: The blurred out measurement ID is where your measurement ID would go. What is important is that the green checkbox appears next to it saying that Google tag found it in this container. If it does not, something was not setup correctly, so fix that before proceeding. You might need to refer to - How to Install Google Analytics or similar resources to get it installed correctly.
Before pressing save, we also need to pick the trigger. At the bottom of the page, click the icon in the firing triggers section. Select SkyQuote Contact Form Submission event. After selecting you should see it in your trigger section.
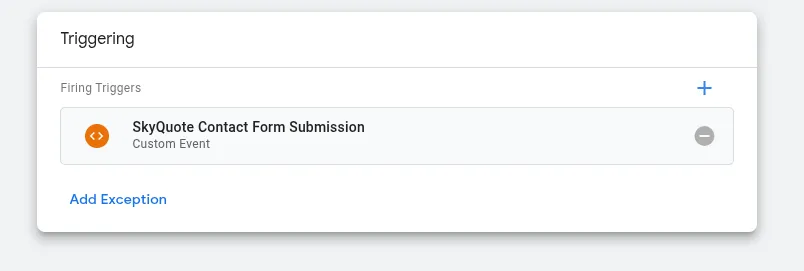
Verify that everything looks ok and press save. Your tag is now set up. Time to debug and make sure everything looks right.
Step 5: Testing the Setup
Your tag is all setup and ready to try out. We have yet to publish it to your website. Before doing so, it is always a good idea to run a test and make sure everything works correctly. Google Tag Manager has a great preview function that allows you to do just that.
At the top-right of Google Tag Manager is a button called Submit and a button called Preview.
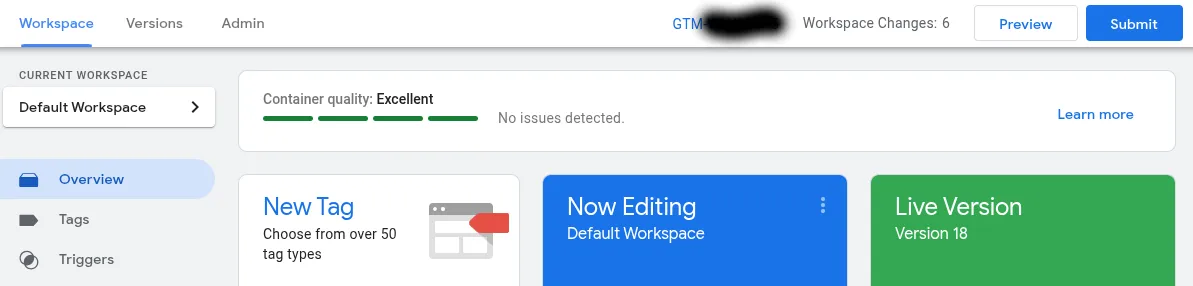
Click the button called Preview. This bring up a preview dialog
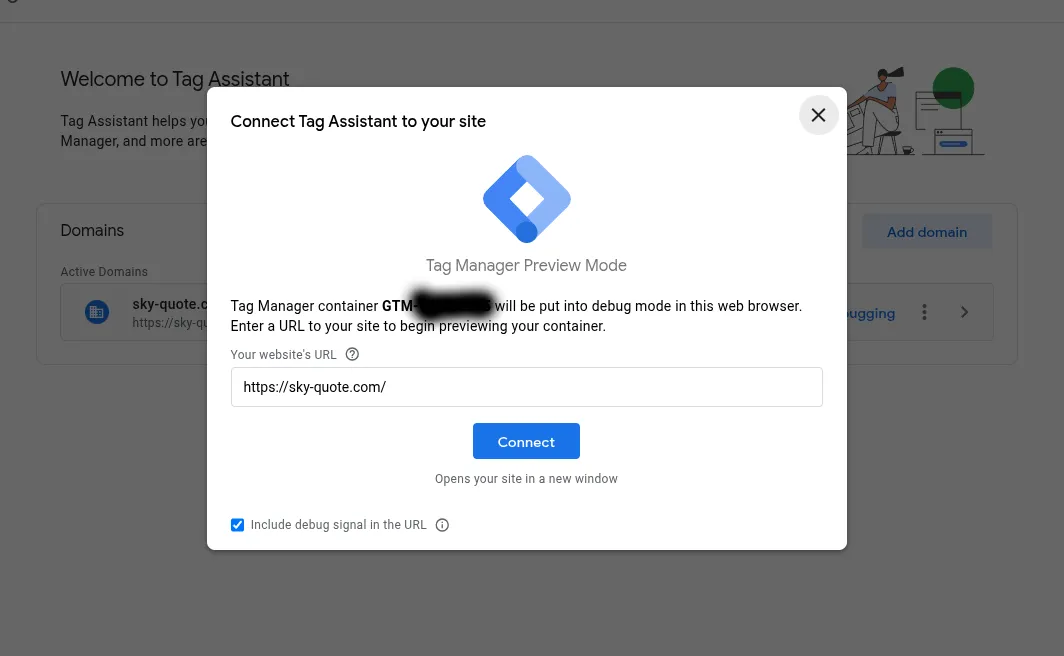
Type in the name of the URL that contains your SkyQuote Contact Form and press Connect. This will open that page in a new window or tab.
On your new window fill in the contact form and press submit.
Back on the previous window where you were in Google Tag Manager you should see a page like this:

Click the Continue button. On the left hand side of the screen is a bunch of different events that have been captured.
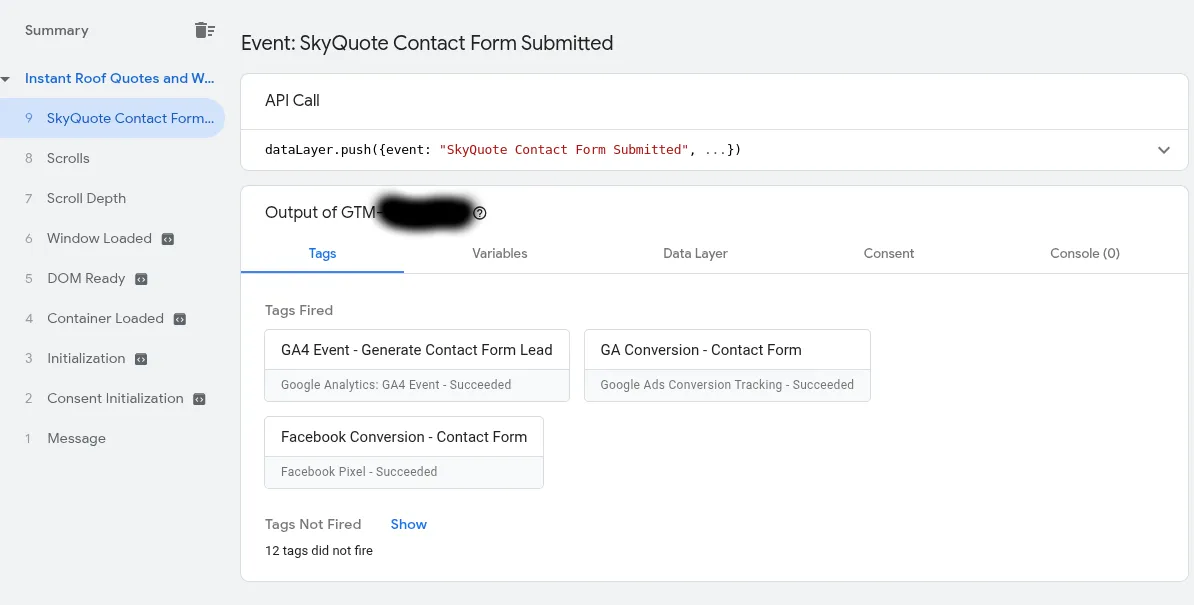
You should see an event for SkyQuote Contact Form Submitted in the left-hand side. Click on it, and you'll see what tags were fired. You should see a GA4 Event tag like in the example. Note the example also shows a Google Ads Conversion and Facebook Conversion. You won't see those. We'll cover those in a future blog article.
If you click the variables tab, you should see a page like the following:
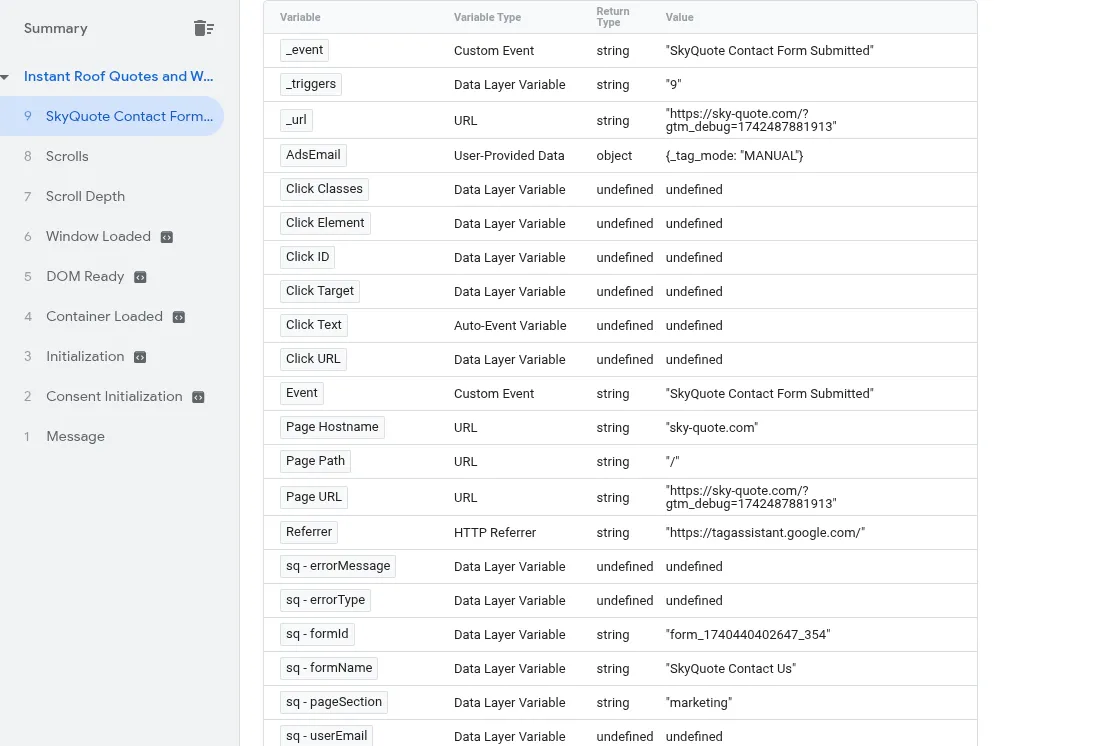
Make sure you see an _event called "SkyQuote Contact Form Submitted" and farther down the page you should see variables for sq-formId and sq-formName.
If you do not see these values, something is not set up correctly, so you will need to troubleshoot. Otherwise, congrats! We just need to publish this now.
To learn more about the powerful Google Tag Manager preview tool you can search YouTube or read articles like A Guide To Google Tag Manager Preview Mode.
Step 6: Publishing and Verifying in Google Analytics
Phew! A lot of work but we got here. To make this live and start tracking, you need to save your Google Tag Manager changes.
In Google Tag Manager, click on the Submit button in the upper-right-hand corner. Give a name and description for your changes. Version names can be whatever you want. "Setup SkyQuote Contact Forms" is an example of what you could type.
Click the Publish button. After a few seconds, your changes will be live!
Google Analytics may take a while to show changes since it's not truly real-time. In Google Analytics you can find your form submissions on the Engagement report under the Life cycle section. There are a lot of events that Analytics track, so make sure you to set your Rows Per Page to a high number so that you can see all your events. You should eventually see an Event Name called "generate_lead".
Google Analytics also has "Key Events". These key events show up on pages like your Realtime Overview. I would highly recommend setting up generate_lead as a Key Event, as it is probably one of the most important events on your website. You can set this up on your Admin Page under PropertySettings->Data Display->Key events. See Google's About Key Events for more information.
If your contact form submissions are not showing up but everything looked in Google Tag Manager, you can use Google Analytics debugger to make sure the event is being received. A good resource to learn more is DebugView in Google Analytics 4. Alternatively, reach out to us at [email protected] and we'll be happy to help.
Step 7: Tracking Different Form Names in Google Analytics
As you have seen, with everything set up correctly, Google Analytics will show "generate_lead" events whenever a customer submits a contact form. But what if you have multiple forms on your website and want to see which forms are being submitted? There are different ways to do this.
Option 1:
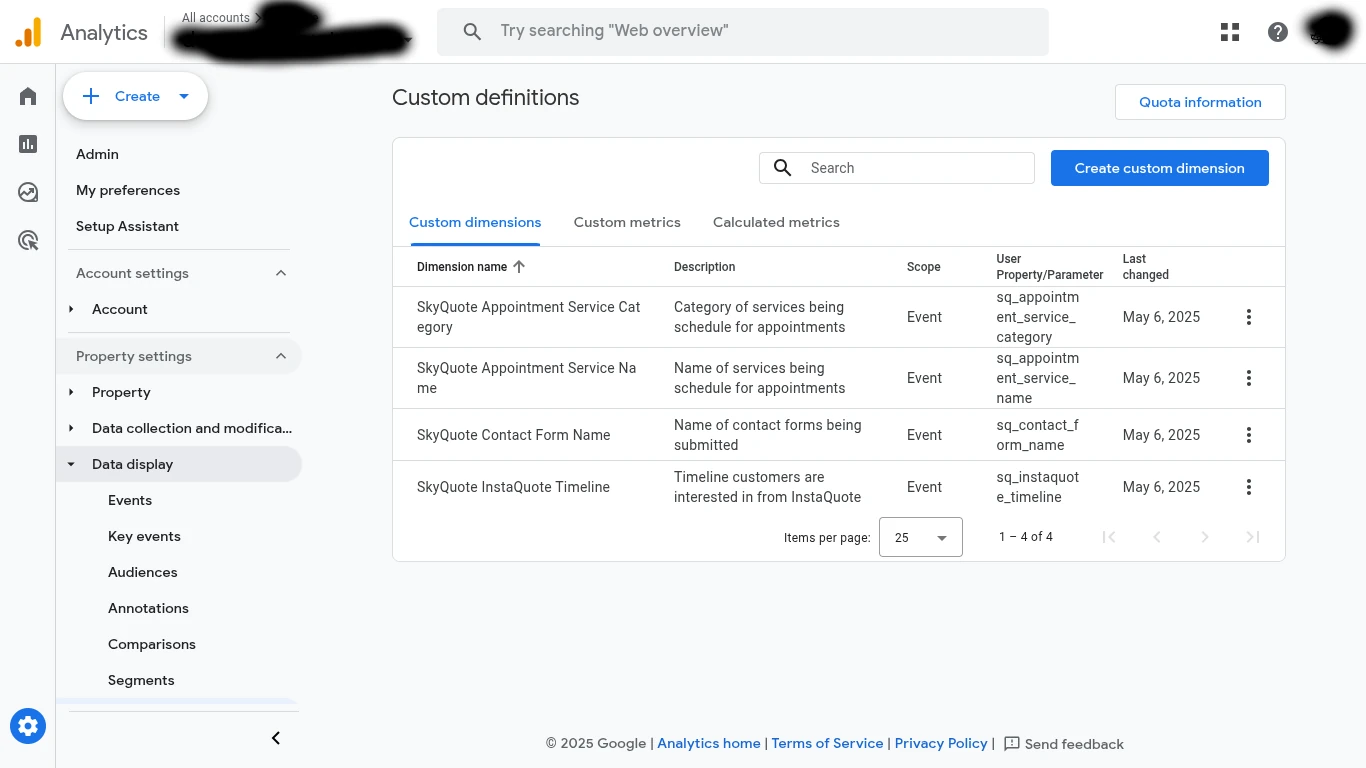
The first approach is to add custom definitions to Google Analytics. In Google Analytics, click the gear icon in the lower-left corner. This will take you to the Admin screen. Under the "Data display" section, click the "Custom definitions" menu item. This will open the Custom Definitions page.
On this page, click the New Custom Dimension button and enter the following information:
- Dimension name: "form_name"
- Scope: "Event"
- Description: "Name of contact forms being submitted"
- Event parameter: "form_name"
Click Save.
Note: The event parameter should be whatever name you used in the GA4 event setup earlier. We used
"form_name"for that, but if you changed it, you’ll need to use your custom name here.
You should see a screen similar to this. You can add another event for lead_type if you want, but it's not required.
This tells Google Analytics to look for this variable being passed in via an event and store information about it.
To see the information, click the Explore menu on the left-hand side of the screen. This will open a screen that asks you to choose what kind of report to create. Select "Free Form." This opens a very complex-looking screen that allows you to create a report with a variety of different settings. Don't worry — it looks more intimidating than it actually is.
Let’s start making the following changes (working from the left-hand side of the screen to the right):
- Change the Exploration Name to "Contact Forms"
- Leave the date range to "Last 28 days" unless you want to select something else
- Under Dimensions, click the + sign
- This opens another screen. At the very top of the screen is a search bar. Search for "custom."
- You should see a checkbox for
"form_name". Check it and press Confirm.
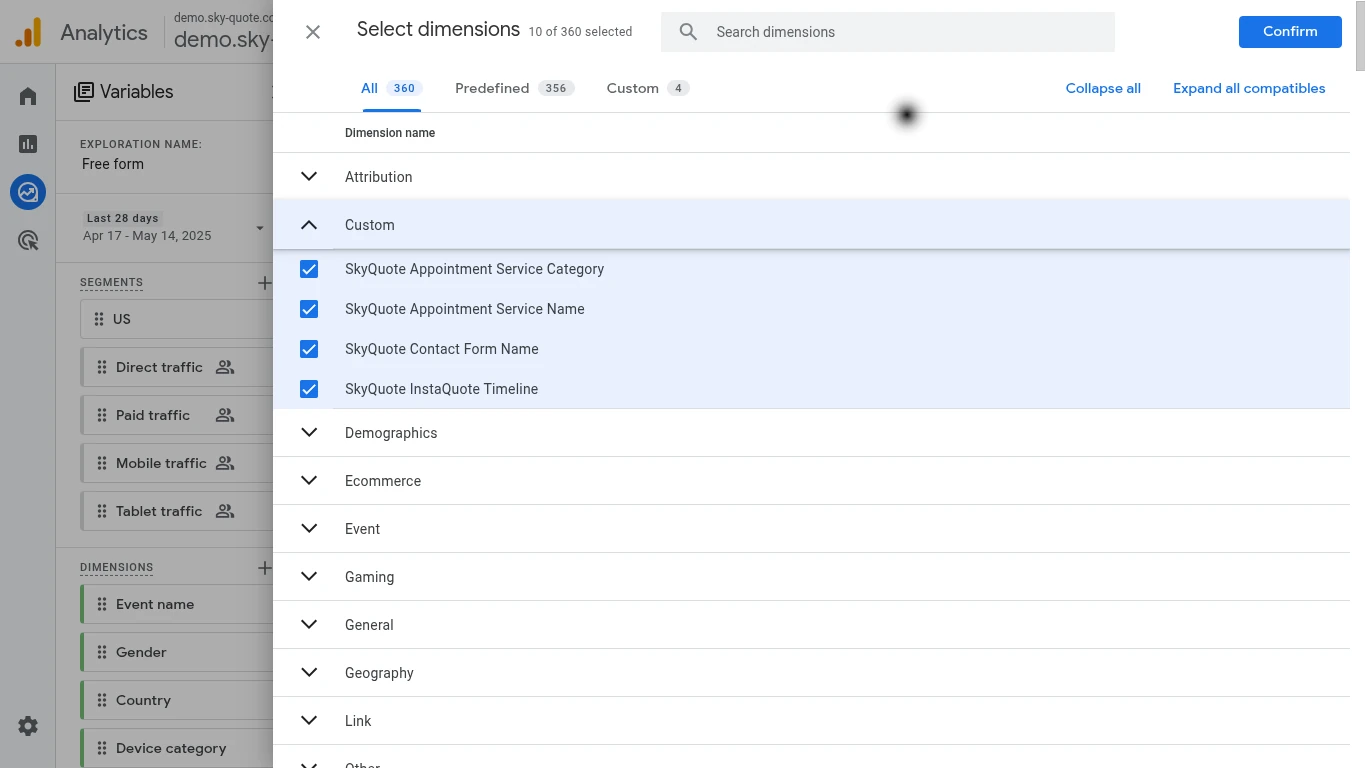
The dialog closes and we are back on the Explore page:
- At the bottom of the Dimensions section, you should now see an option for
"form_name" - Drag that item to the Rows section
- There most likely is another item in Rows called City
- Hover over it and an X should appear
- Click on the X to delete it
- The page should now look like this:

You will most likely not see anything but (not set) being displayed in the report. This is because it can take up to 24 hours for Google Analytics to process events. Just make sure to submit a test form, and come back later to confirm that the information is coming in.
You're done. It's not obvious at all, as there is no save button — Google just saves it automatically. If you click on the Explore menu item again, you will return to the Explore page and your report should be listed. Click it to run it.
Option 2:
There's another approach so that you don’t have to go the custom definition route. This approach involves setting up different triggers and events in Google Tag Manager so that you generate a custom event for each form type.
To do this, you will need to create a unique trigger and event for each one of your form types. For example, the following trigger fires an event only when the "sq - formName" data variable is equal to "SkyQuote Contact Us." Any other contact form will be ignored by the trigger.
Then you create an event just for that trigger and make the event name unique. Note that in this approach, you don’t need to pass any data variables as custom parameters to GA4, as the event contains all the information you need.
While this approach requires a little more Google Tag Manager setup, it’s very clean in Google Analytics, as the events just show up like "generate_lead" would have.
Note: You might want to mark this as a key event like we did above as well.
A Note on SkyQuote Analytics
If you have multiple contact forms (different configurations in SkyQuote) and each contact form has had at least one submission during the time period you’re viewing, there will be a Contact Type card shown in the SkyQuote Analytics dashboard that breaks down the various contact forms that were submitted.
Conclusion
We hope you found this article helpful and are now successfully tracking SkyQuote Contact Form Submissions in Google Analytics.
If you are running ads on Meta or Google Ads, you should definitely set up conversion tracking as well using Google Tag Manager and a similar process. We’ll cover this in more detail in a future article, but in the meantime, if you need help, please reach out to [email protected]. We are here to help.